Build a Custom PC
Build a Custom PC is a rewarding experience that allows you to create a machine tailored to your specific needs, whether it’s for gaming, video editing, or everyday computing. By handpicking each component, you can ensure your PC meets your performance, budget, and aesthetic preferences. This step-by-step guide will walk you through the process of Build a Custom PC, from selecting the right components to assembling and powering up your new machine.

Why Build a Custom PC?
Build a Custom PC offers several advantages:
- Performance: Customize your PC with high-performance components that meet your specific needs.
- Cost Efficiency: Build a Custom PC can be more cost-effective than buying a pre-built system with similar specs.
- Upgradability: Easily upgrade individual components in the future without replacing the entire system.
- Personalization: Choose your own case, RGB lighting, and other aesthetic elements to create a unique build.
Step 1: Choose Your Components
The first step in Build a Custom PC is selecting the right components. Here’s what you’ll need:
- Central Processing Unit (CPU): The brain of your computer. Choose a CPU based on your needs (e.g., Intel Core i7, AMD Ryzen 7). Read more about the latest CPU options on Tom’s Hardware.
- Motherboard: The backbone that connects all your components. Ensure it’s compatible with your CPU and has the features you need (e.g., ASUS ROG Strix, MSI B550).
- Graphics Card (GPU): Essential for gaming and video editing. Select a GPU based on your performance requirements (e.g., NVIDIA GeForce RTX, AMD Radeon RX).
- Memory (RAM): Choose at least 16 GB for most tasks, or 32 GB+ for heavy multitasking and editing.
- Storage: Opt for an SSD for faster load times and a larger HDD for additional storage (e.g., Samsung 970 Evo SSD, Seagate Barracuda HDD).
- Power Supply Unit (PSU): A reliable PSU ensures stable power delivery (e.g., Corsair RM750, EVGA 650W).
- Case: Choose a case that fits your components and allows for good airflow (e.g., NZXT H510, Fractal Design Meshify C).
- Cooling System: Ensure your components stay cool with a good CPU cooler and case fans (e.g., Noctua NH-D15, Corsair LL120 RGB fans).
- Operating System (OS): You’ll need a copy of Windows, Linux, or macOS to install on your new PC.
- Explore PCPartPicker to find compatible components for your build.
Step 2: Prepare Your Workspace
Before you start assembling your PC, prepare a clean, spacious workspace:
- Tools: You’ll need a Phillips-head screwdriver, anti-static wrist strap, and zip ties.
- Lighting: Ensure your workspace is well-lit so you can clearly see what you’re doing.
- Organize Components: Lay out all your components and tools within easy reach.
Step 3: Assemble Your PC
Now it’s time to put everything together:
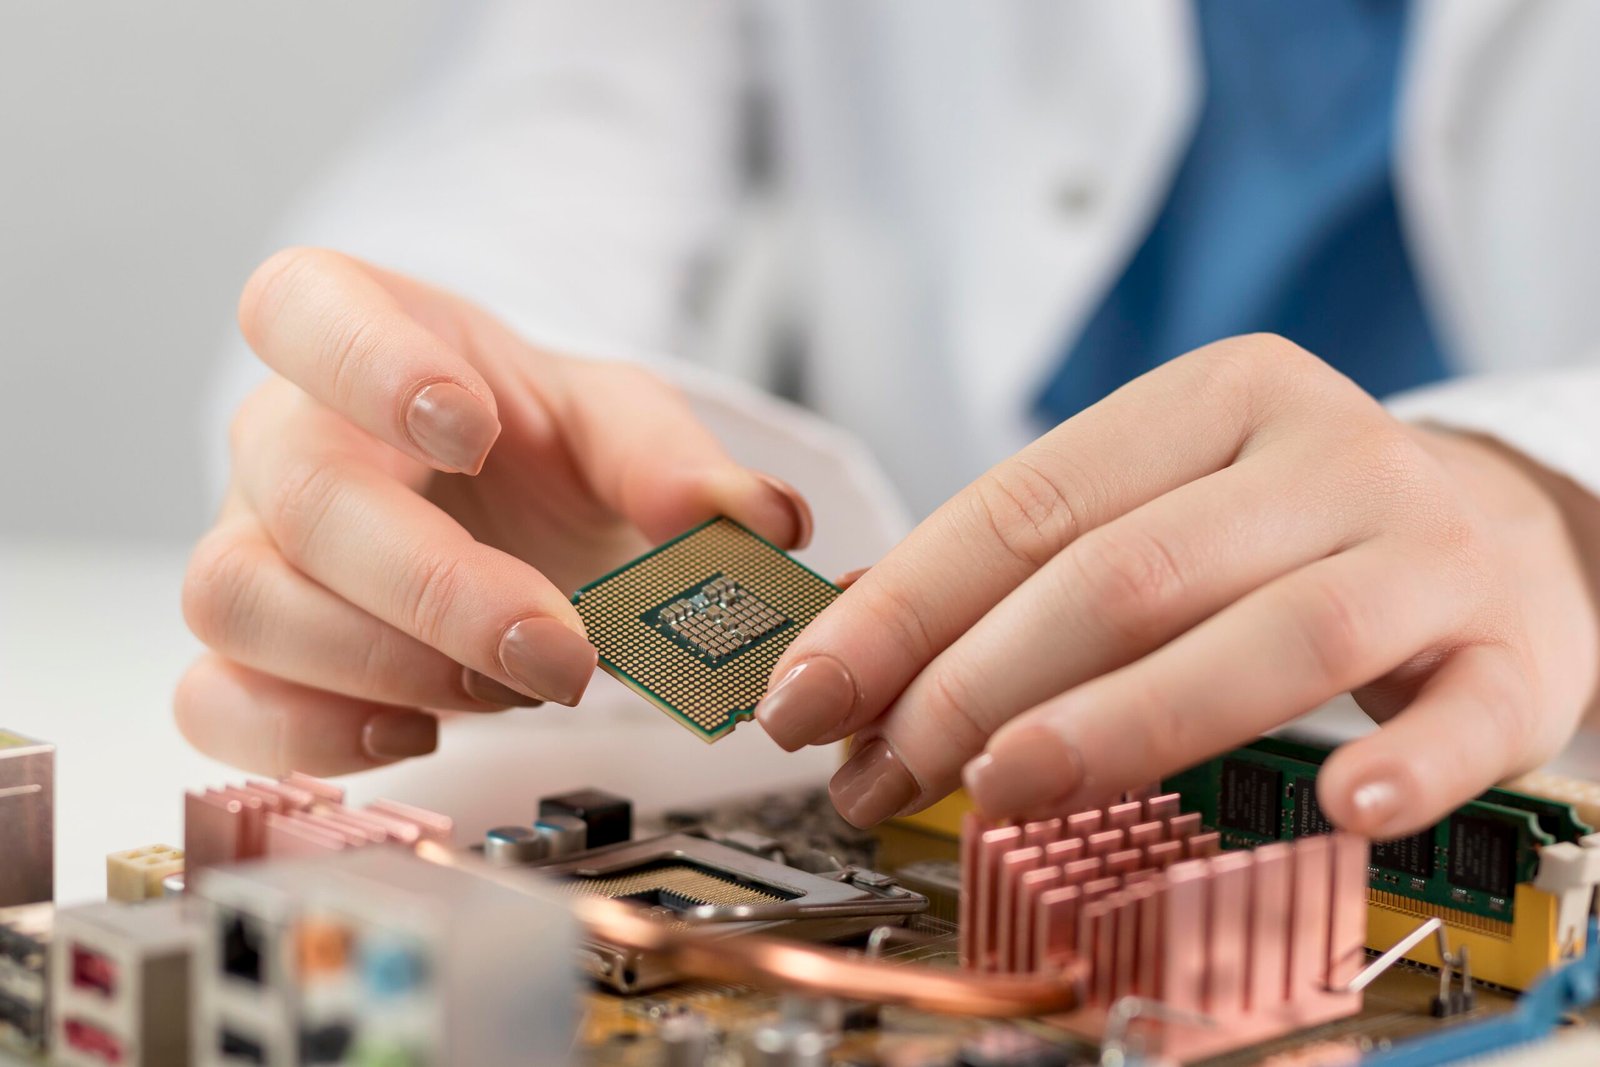
- Install the CPU:
- Open the CPU socket on the motherboard.
- Align the CPU with the socket and gently place it in. Close the socket cover and secure it.
- Install the RAM:
- Open the RAM slots on the motherboard.
- Align the RAM modules with the slots and press down firmly until they click into place.
- Install the Motherboard:
- Place the motherboard inside the case and align it with the standoff screws.
- Secure the motherboard to the case using screws.
- Install the Storage:
- If you’re using an M.2 SSD, install it directly on the motherboard.
- For 2.5-inch or 3.5-inch drives, mount them in the case’s drive bays and connect them to the motherboard via SATA cables.
- Install the Graphics Card:
- Remove the PCIe slot covers from the case.
- Insert the GPU into the PCIe slot on the motherboard and secure it with screws.
- Install the Power Supply:
- Place the PSU in the designated area in your case.
- Secure it with screws and connect the power cables to the motherboard, GPU, and storage devices.
- Connect Case Fans and Cooling:
- Install any additional case fans and connect them to the motherboard.
- If using an aftermarket CPU cooler, install it according to the manufacturer’s instructions.
- Cable Management:
- Use zip ties to neatly organize and secure cables. This improves airflow and aesthetics.
Step 4: Power On and Install the Operating System
- Double-Check Connections: Ensure all components are securely connected.
- Power On Your PC: Connect the PC to a monitor, keyboard, and mouse. Press the power button.
- Enter the BIOS/UEFI: On boot, press the appropriate key (usually Del or F2) to enter the BIOS/UEFI.
- Set Boot Priority: In the BIOS/UEFI, set your USB drive or optical drive as the first boot device.
- Install the Operating System:
- Insert your OS installation media and restart your PC.
- Follow the on-screen instructions to install the OS on your primary storage drive.
Step 5: Install Drivers and Updates
Once the OS is installed:
- Install Motherboard Drivers: Use the disc provided with your motherboard or download the latest drivers from the manufacturer’s website.
- Install GPU Drivers: Download and install the latest drivers from NVIDIA or AMD’s website.
- Update the OS: Check for and install any available OS updates to ensure your system is up to date.
Conclusion
Build a Custom PC is a fulfilling experience that gives you control over your computer’s performance, appearance, and functionality. By carefully selecting components and following this step-by-step guide, you can assemble a PC that meets your exact needs, whether it’s for gaming, productivity, or creative work. Remember, patience and attention to detail are key to a successful build.
More to Explore
- Check out our guide on How to Choose the Best Graphics Card for Gaming and design to optimize your build.
- Learn about Upgrading Your PC’s RAM to enhance your system’s multitasking capabilities.
Related
Discover more from Computer Climax
Subscribe to get the latest posts sent to your email.


2 Responses