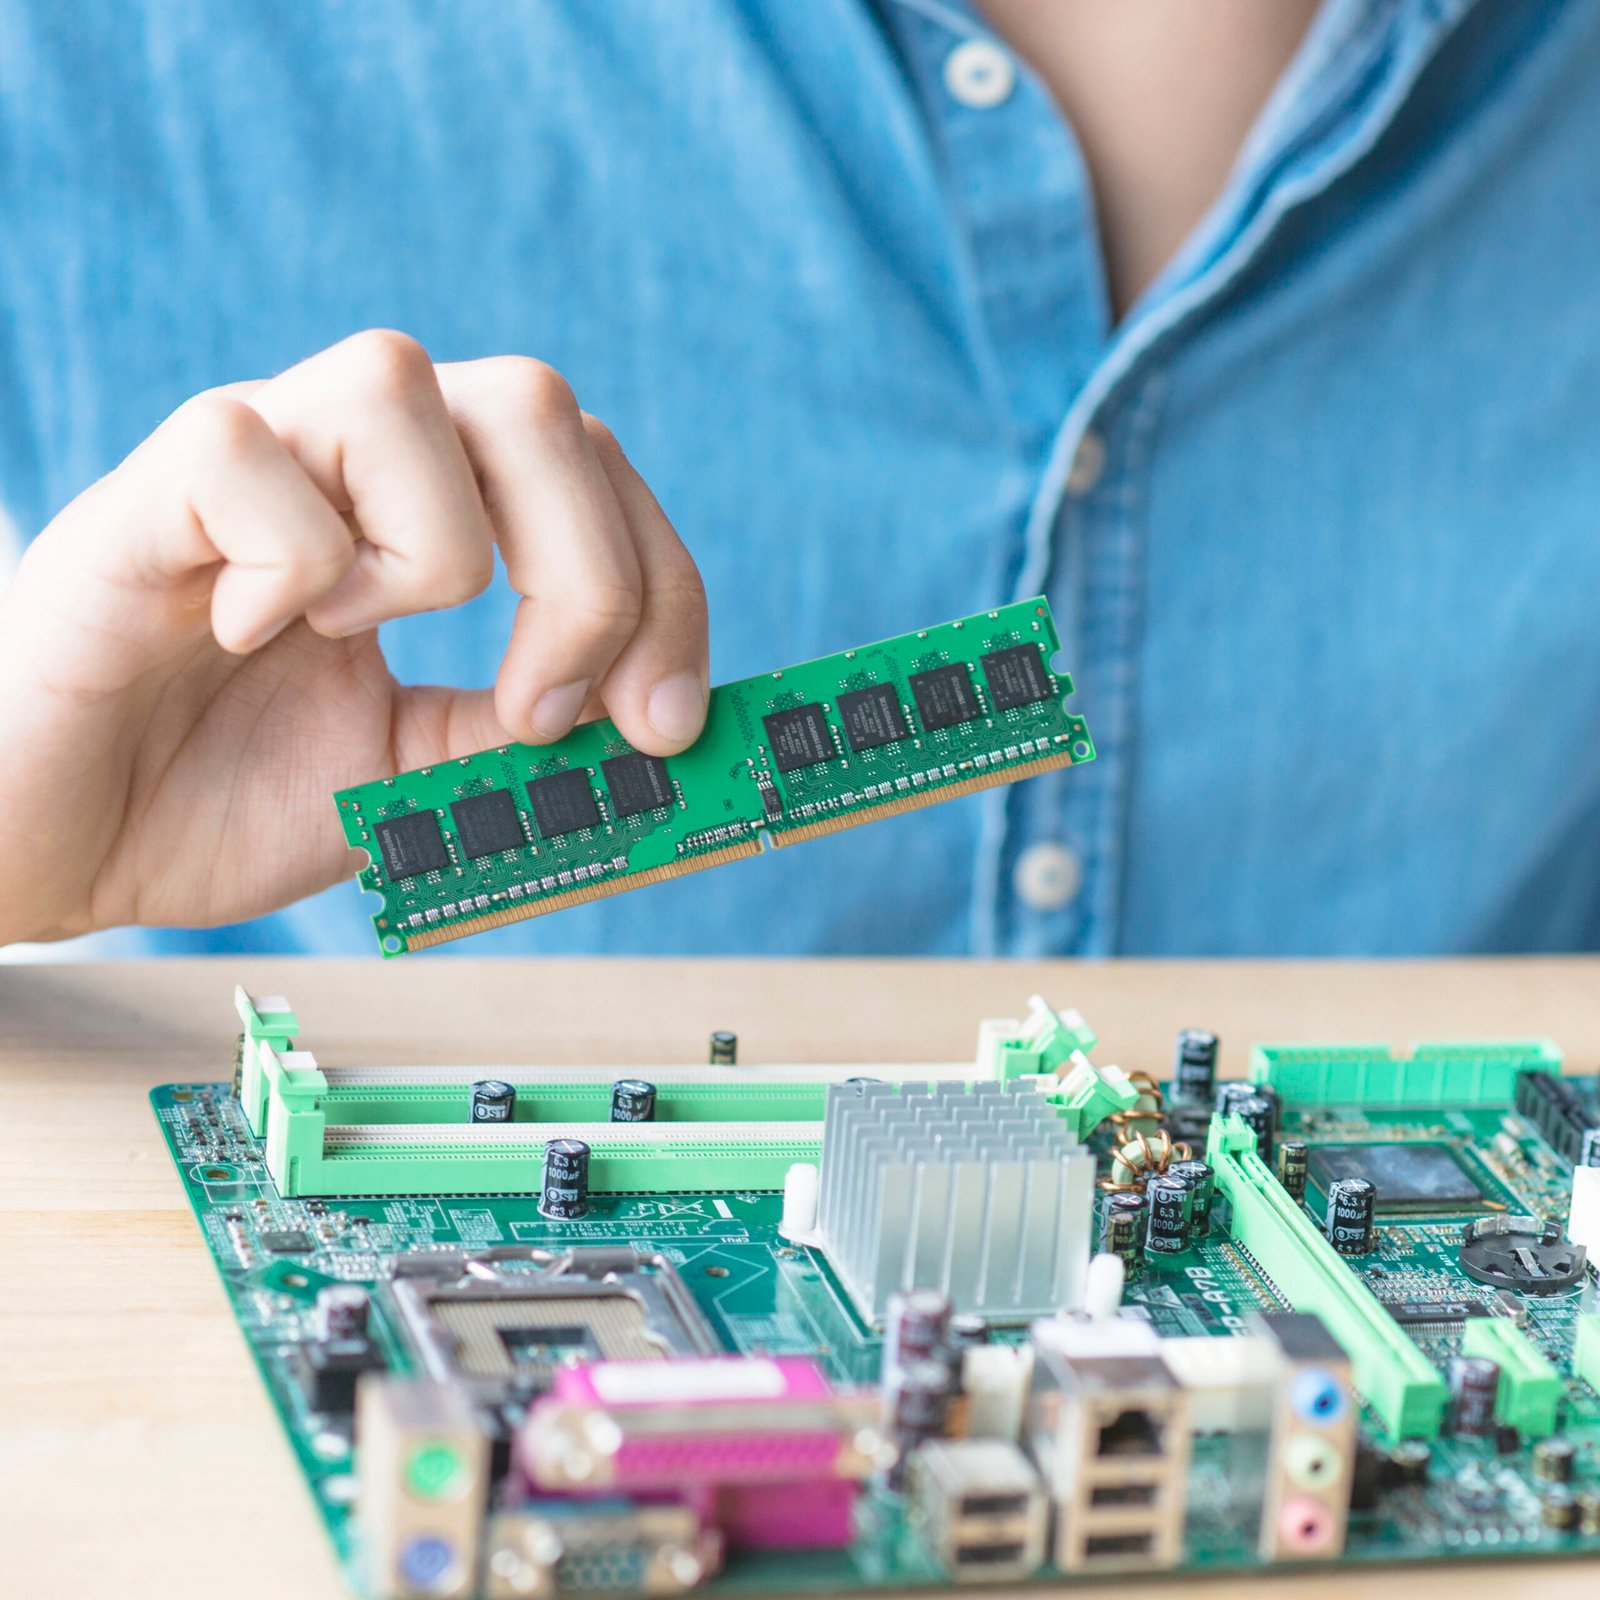
Upgrade PC RAM
Upgrading your PC’s RAM (Random Access Memory) is one of the most effective ways to enhance your computer’s performance. Whether you’re experiencing slowdowns during multitasking, gaming, or running memory-intensive applications, adding more RAM can significantly improve your system’s responsiveness and speed. In this guide, we’ll walk you through the process of upgrading your PC’s RAM, from checking compatibility to installing the new modules.

Why Upgrade PC RAM?
RAM plays a crucial role in your computer’s performance by temporarily storing data that your CPU (Central Processing Unit) needs to access quickly. The more RAM you have, the more data your computer can handle simultaneously, leading to smoother multitasking and faster application loading times.
Here are a few reasons why upgrading your RAM is beneficial:
- Improved Multitasking: With more RAM, you can run multiple applications simultaneously without experiencing slowdowns.
- Faster Performance: Upgrading RAM can speed up your computer, especially when running demanding applications like video editing software or games.
- Better System Stability: More RAM reduces the likelihood of system crashes and freezes, particularly when running memory-heavy programs.
Step 1: Determine How Much RAM You Need
Before upgrading your RAM, it’s essential to know how much additional memory your system requires:
- Check Current RAM Usage:
- On Windows, open Task Manager (Ctrl + Shift + Esc) and navigate to the “Performance” tab to see your current RAM usage.
- On macOS, open Activity Monitor and check the “Memory” tab.
- Consider Your Needs:
- Casual Users: 8 GB is typically sufficient for everyday tasks like browsing, streaming, and light multitasking.
- Power Users: 16 GB or more is recommended for gaming, video editing, and heavy multitasking.
Step 2: Check Your PC’s RAM Compatibility
Not all RAM is compatible with every computer. Before purchasing new RAM, verify the following:
- RAM Type: Check if your PC uses DDR3, DDR4, or DDR5 RAM. This information can be found in your computer’s manual or by using tools like CPU-Z.
- Maximum RAM Capacity: Determine the maximum amount of RAM your motherboard can support. This information is usually available on the manufacturer’s website or in the motherboard’s manual.
- Number of RAM Slots: Open your computer’s case and check the number of available RAM slots. Most desktops have 2-4 slots, while laptops typically have 1-2.
Step 3: Purchase Compatible RAM Modules
Once you’ve determined the type and amount of RAM you need, it’s time to purchase the appropriate modules. Consider the following:
- Brand: Opt for reputable brands like Corsair, Kingston, or Crucial.
- Speed: Higher speed (measured in MHz) results in better performance. However, ensure your motherboard supports the chosen speed.
- Capacity: Decide between buying one larger module or multiple smaller ones. For example, 2×8 GB modules instead of 1×16 GB.
- Find compatible RAM for your system on Crucial’s Memory Advisor.
- Learn more about the importance of RAM in computing from Kingston Technology.
Step 4: Install the New RAM
Now that you have your new RAM modules, it’s time to install them:
- Power Down and Unplug: Turn off your computer and unplug all cables, including the power cable.
- Open the Case: For desktops, remove the side panel. For laptops, remove the back panel.
- Ground Yourself: Touch a metal part of your case to discharge any static electricity.
- Locate the RAM Slots: Find the RAM slots on your motherboard. If you’re adding new RAM to existing modules, install them in the empty slots.
- Install the RAM:
- Align the RAM module with the slot, ensuring the notch on the module matches the one on the slot.
- Firmly press down until the module clicks into place.
- Secure the module with the clips on either side of the slot.
- Close the Case: Once the RAM is installed, close your computer’s case and reconnect all cables.
Step 5: Verify the Installation
After installing the new RAM, you need to ensure it’s recognized by your system:
- Power On Your PC: Boot up your computer.
- Check System Information:
- On Windows, open Task Manager and navigate to the “Performance” tab to see the total RAM installed.
- On macOS, go to the Apple menu > About This Mac to view the installed memory.
- Run a Memory Test (Optional): Use tools like Windows Memory Diagnostic or MemTest86 to ensure the new RAM is functioning correctly.
Conclusion
Upgrading your PC’s RAM is a cost-effective way to boost your computer’s performance, especially if you’re dealing with slowdowns during multitasking or running memory-intensive applications. By following this step-by-step guide, you can successfully Upgrade PC RAM and enjoy a faster, more responsive system. Remember to choose compatible RAM, handle the components with care, and verify the installation to ensure everything is working correctly.
More to explore:
- Explore our guide on How to Build Your Own Custom PC for more hardware upgrade tips.
- Learn about Understanding Motherboards: The Backbone of Your Computer to choose the right components for your system.
Related
Discover more from Computer Climax
Subscribe to get the latest posts sent to your email.


One Response